Have you ever had the experience of trying to quickly communicate where you are to your friends or loved ones? Or maybe you’ve wished there was a simple way to share your location with your partner for safety reasons. Well, thanks to the capabilities of your iPhone, staying connected and sharing your whereabouts has become incredibly convenient.
In this blog, we will explore different ways and features that enable easy location sharing on an iPhone. Whether you want to coordinate a meet-up, keep track of your loved ones, or simply reassure others of your safety, we’ve got you covered. No more frustrating moments of trying to explain your location over the phone. With your reliable iPhone, sharing your location becomes hassle-free.
Why Share Your Location on iPhone
iPhone users can share their location for a variety of reasons, including:
- Get together: Inform the friends and relatives of the location of the meeting that will guarantee everyone comes in time.
- Safety and Security: Real time location updates help bring about reassurance and safety especially if these are high risk environments. This function tracks your current position so as to see to it that you attain the desired location securely.
- Coordination: Time management and synchronization become easier if you share location with coworkers and customers during professional operations.
- Parental Control: As a way to ensure their children’s safety, parents often ask their children to share their location with them. For that you can use parental control app to keep tabs on their child.
How to Enable Location Sharing on iPhone
To make the most of your iPhone’s features, you’ll need to turn on location sharing. First step? Convenience and safety. Share your current location with friends, family, or coworkers to make meetups, and coordination easier. Safety is also a huge benefit found in this tool. Let us walk you through the setup process.
Here’s how to turn on Location Sharing on iPhone.
1. Open the Settings app on your iOS device.
2. Scroll down and visit the Privacy & Security option.
3. Tap Location Services.

4. Now, select the Share My Location option.

5. Finally, toggle on the switch for Share My Location.

Once you’ve enabled location sharing, you’re ready to share your real-time location with your friends and family on your iOS device.
7 Ways to Share Location on iPhone
Location Sharing has now been enabled on your iPhone. Now, let’s take a look at the different methods that you can use in order to let your friends, relatives, and colleagues know where you are. There are different options that you can choose from whether you opt for Apple’s native solutions or third party applications like the popular ones. Learn about the multi-use of location sharing on your iPhone and choose the way fit for you.
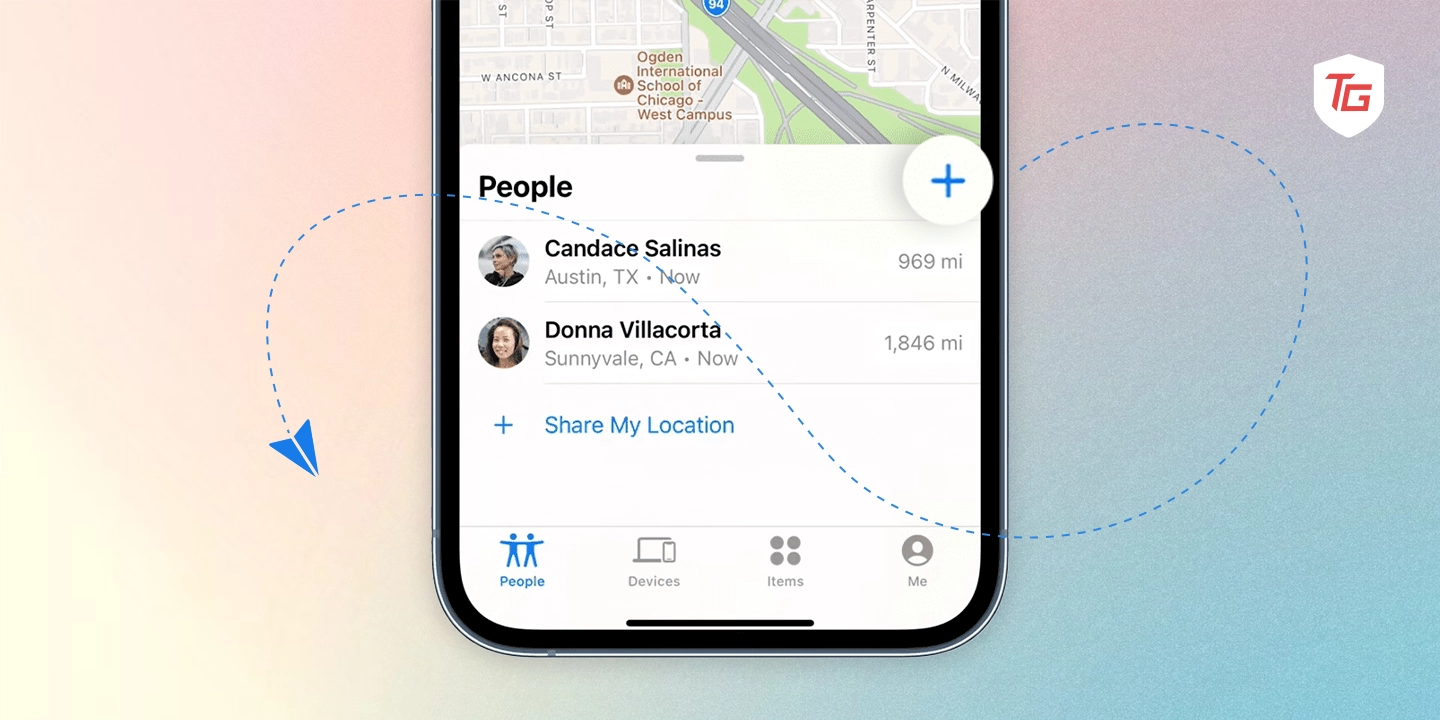
1. Share Location Via Find My App
You can provide your loved ones with real-time updates about your location through the “Find My” app, providing peace of mind for both parties. It is especially helpful when meeting up with friends, making sure they are safe, and maintaining efficient coordination.
1. Open the Find My app on your device.
2. Tap the People menu from the bottom left corner.
3. Now, tap on the button called Start Sharing Location.

4. Then, select the right contact and then hit the Send button in the top right corner.

5. Finally, share the right time period to start sharing your location.

The person on the other end will be notified about your latest location. They’ll be able to track it in real time as well.
2. Share Location Using iMessage
You can easily coordinate with family and friends by sharing your location through iMessage. This is an easy and intuitive way to communicate your real-time location with your contacts, making safety concerns and meet-ups a breeze.
1. Open the Messages app on your iOS device.
2. Select a recent conversation or compose a new one by tapping the icon in the top right corner.
3. Add the recipient and then tap the “+” icon in the bottom left corner.
4. Then tap Location.

5. Next, tap the Share button.

6. Lastly, select the right timeframe and hit the send button.
Your live location will be shared with your friends instantly and they’ll be able to track it using the same iMessage app.
3. Sharing Location Automatically Via Family Sharing
If you want your families to stay close-knit and ensure their safety, take advantage of Family Sharing for location sharing. To share location automatically via this way,
1. Open the Settings app on your iPhone.
2. Tap your Profile image (Apple ID icon), the first option itself.
3. Now, choose Family Sharing.
4. Choose Location Sharing from here.

5. In the end, toggle on the switch for Automatically Share Location.

The live location of your device will be automatically shared with your family and devices that use Family Sharing. Now, they will be able to track and check your whereabouts with the Find My app.
4. Share Location Using Apple Maps
You can easily coordinate with your contacts using Apple Maps by sharing your locations in a direct way. The inbuilt functionality of sharing your current location becomes very convenient and accurate for meeting up, your own safety on the roads among many and more. To share your location using Apple Maps,
1. Launch the Apple Maps app on your device.
2. Identify your current location.
3. Now, press and hold onto the blue dot that represents your current location.
4. Then, select Send My Location.

5. Finally, select the right method of sharing your current location and hit the Send button.

5. Share Location Using Google Maps
Although it is not only for iPhones, sharing your location via Google Maps is quite a common way of doing so. This technique is very important in cross-device communication.
1. Launch the iOS App Store and install Google Maps on your device.
2. Open Google Maps and navigate to your current location.
3. Tap the blue icon that represents your current location.
4. Now, select the Share location option.

5. Then, tap the For 1 hour menu to select the duration of your location sharing.
6. Lastly, select the right contact from those who use Google Maps and share it with them.

They will be notified of the location and will be able to see where you are.
6. Using Social Media Apps (WhatsApp)
With the help of social media applications such as WhatsApp, one can easily update their friends and parents about their location. To summarize, this method lets people communicate among themselves, using this popular social network.
1. Open the WhatsApp app on your device.
2. Now, tap the conversation/contact with whom you want to share your location.
3. Then, tap the ‘+’ button in the bottom left corner.
4. Next up, choose Location from available options.

5. Then, select the Share Live Location option.

6. Lastly, choose the right duration and then hit the Send button in the bottom right corner.

7. Ask Siri to Share Your Location
Sharing location becomes much more convenient using Siri. This is an easy way of updating your loved ones with what’s happening wherever you are.
1. Activate Siri by saying, “Hey Siri” or just “Siri” if you are on iOS 17.
2. Say, “Share my location with [contact].”
3. Confirm the action using the command “send it”.
Whether the recipient uses iMessage or not, Siri will send the location as a location file or link using the Messages app.
How to Stop Sharing Location on iPhone
The process of stopping after initiating the sharing of your location is also important as well. In this section, we will walk you through the steps to stop sharing your location once you no longer need it, protecting your location. If you have met with friends, completed tasks, or just need some privacy, these commands will show you how to stop sharing your location on your iPhone easily.
Stop Sharing Location on Find My
To stop sharing your location using Find My,
1. Open the Find My app and go to the People section from the bottom left corner.

2. Tap the Contact/Person and then select Stop Sharing Location.
From now on, your location won’t be tracked by the person on the other end.
Stop Sharing Location on WhatsApp
Consider the below steps to stop sharing your location on WhatsApp.
1. Open WhatsApp on your iOS device.
2. Select the Contact with whom you’ve shared your location.
3. Tap the Stop Sharing button highlighted in red on the location card to end location sharing.
It is no longer possible for your contact to track your live location since live location sharing will be ended.
Conclusion:
Sending a location on an iPhone makes you safer, more convenient, and coordinated in many parts of your life. You have many ways to do this and you can select the most appropriate for you. It is just as easy to stop sharing your location at the end of this. Location sharing iPhone is very crucial since it is flexible enough to apply in several conditions whether using Apple’s built-in tools or third party applications.
In case you missed it:

